Deploy Front-end
- Add the following code block at Prarameters section of template.yaml file in sam project:
  WebStoreBucketName:
    Type: String
    Default: fcjdmswebstore
Change the Default value to change bucket name

- Add the following code below the S3 bucket description in section 1.1. This code block describes the bucket that allows public access and enables website hosting:
  FcjDMSWebStore:
    Type: AWS::S3::Bucket
    Properties:
      BucketName: !Ref WebStoreBucketName
      PublicAccessBlockConfiguration:
        BlockPublicAcls: "false"
        BlockPublicPolicy: "false"
      WebsiteConfiguration:
        IndexDocument: 'index.html'

  FcjDMSWebStorePolicy:
    Type: AWS::S3::BucketPolicy
    Properties:
      Bucket: !Ref FcjDMSWebStore
      PolicyDocument:
        Version: 2012-10-17
        Statement:
          - Action:
              - "s3:GetObject"
            Effect: Allow
            Principal: "*"
            Resource: !Join
              - ""
              - - "arn:aws:s3:::"
                - !Ref FcjDMSWebStore
                - /*
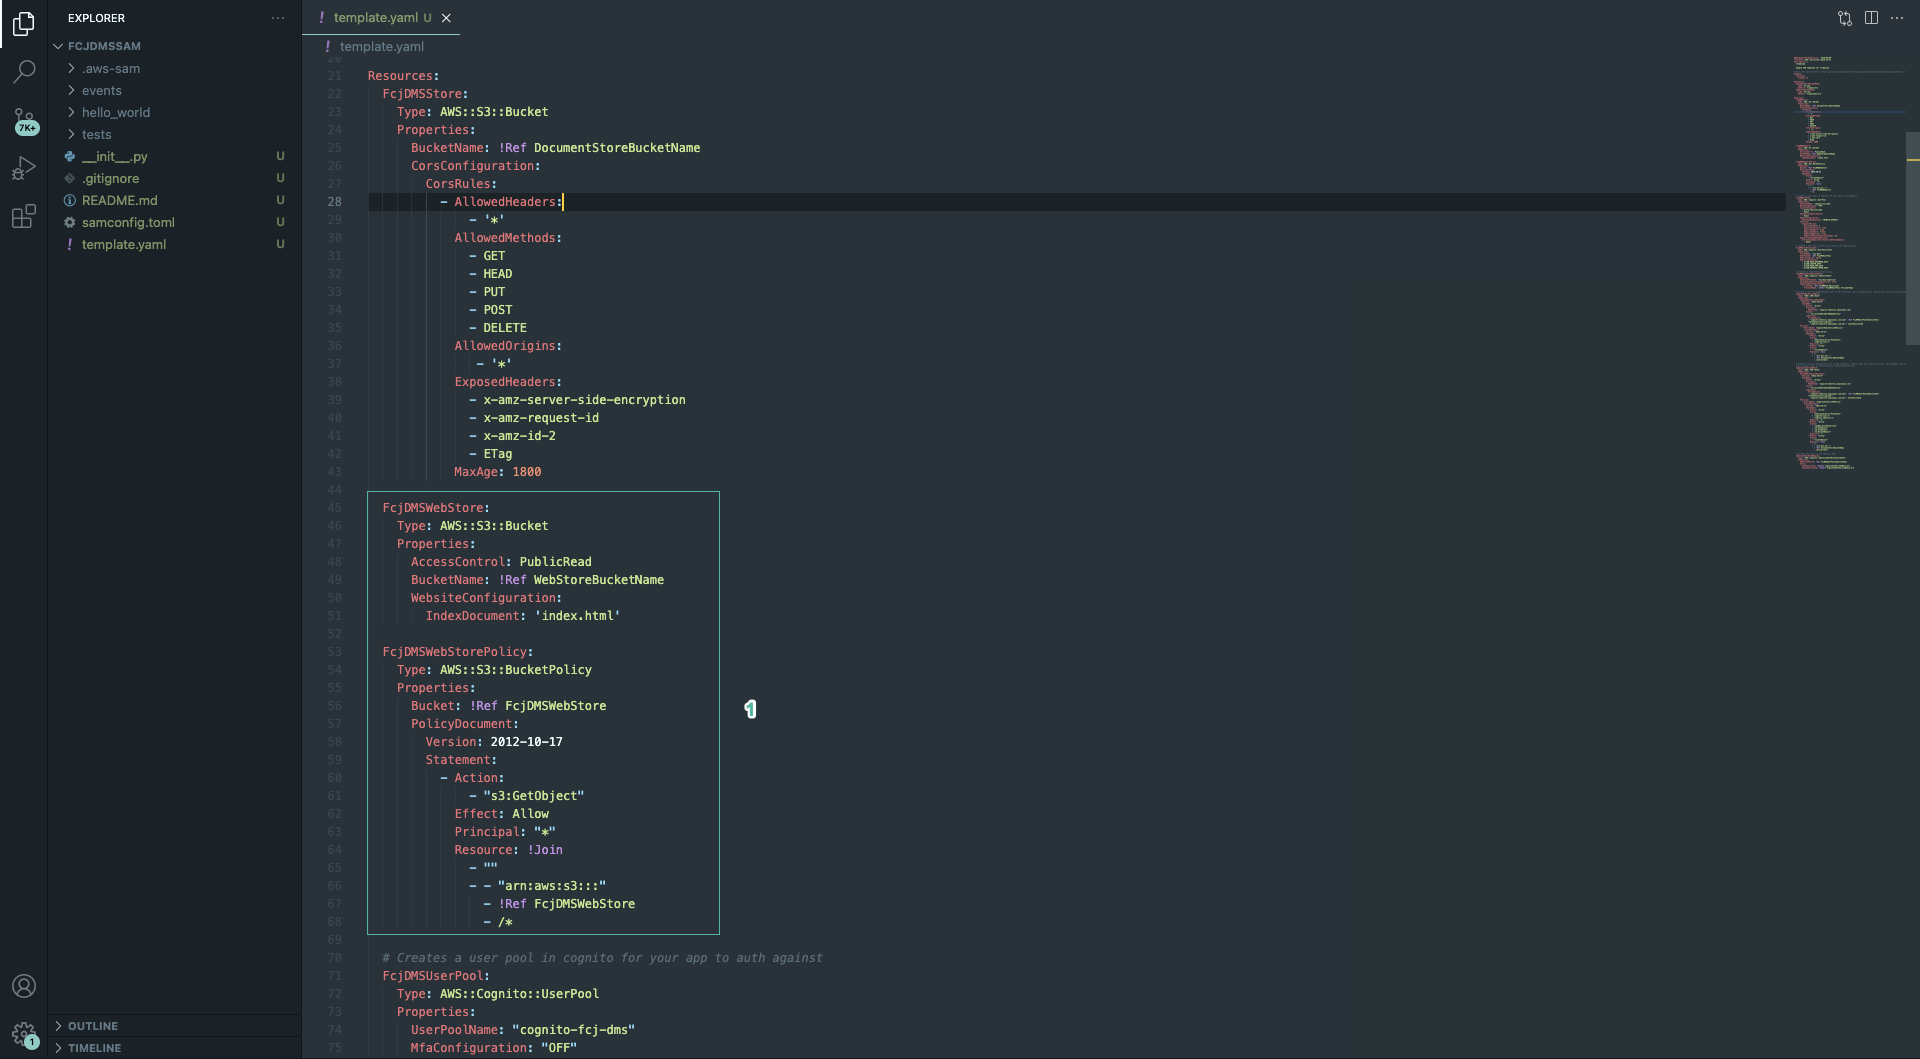
- Run the following commands to build and deploy sam project again:
sam build
sam deploy

- Back to the root of the Front-end project, run the following command:
yarn build
aws s3 cp build s3://BUCKET_NAME --recursive
Replace BUCKET_NAME with the name of the bucket you just created to host the static website, such as: aws s3 cp build s3://fcjdmswebstore --recursive
- Open Amazon S3 console
- Select just created bucket
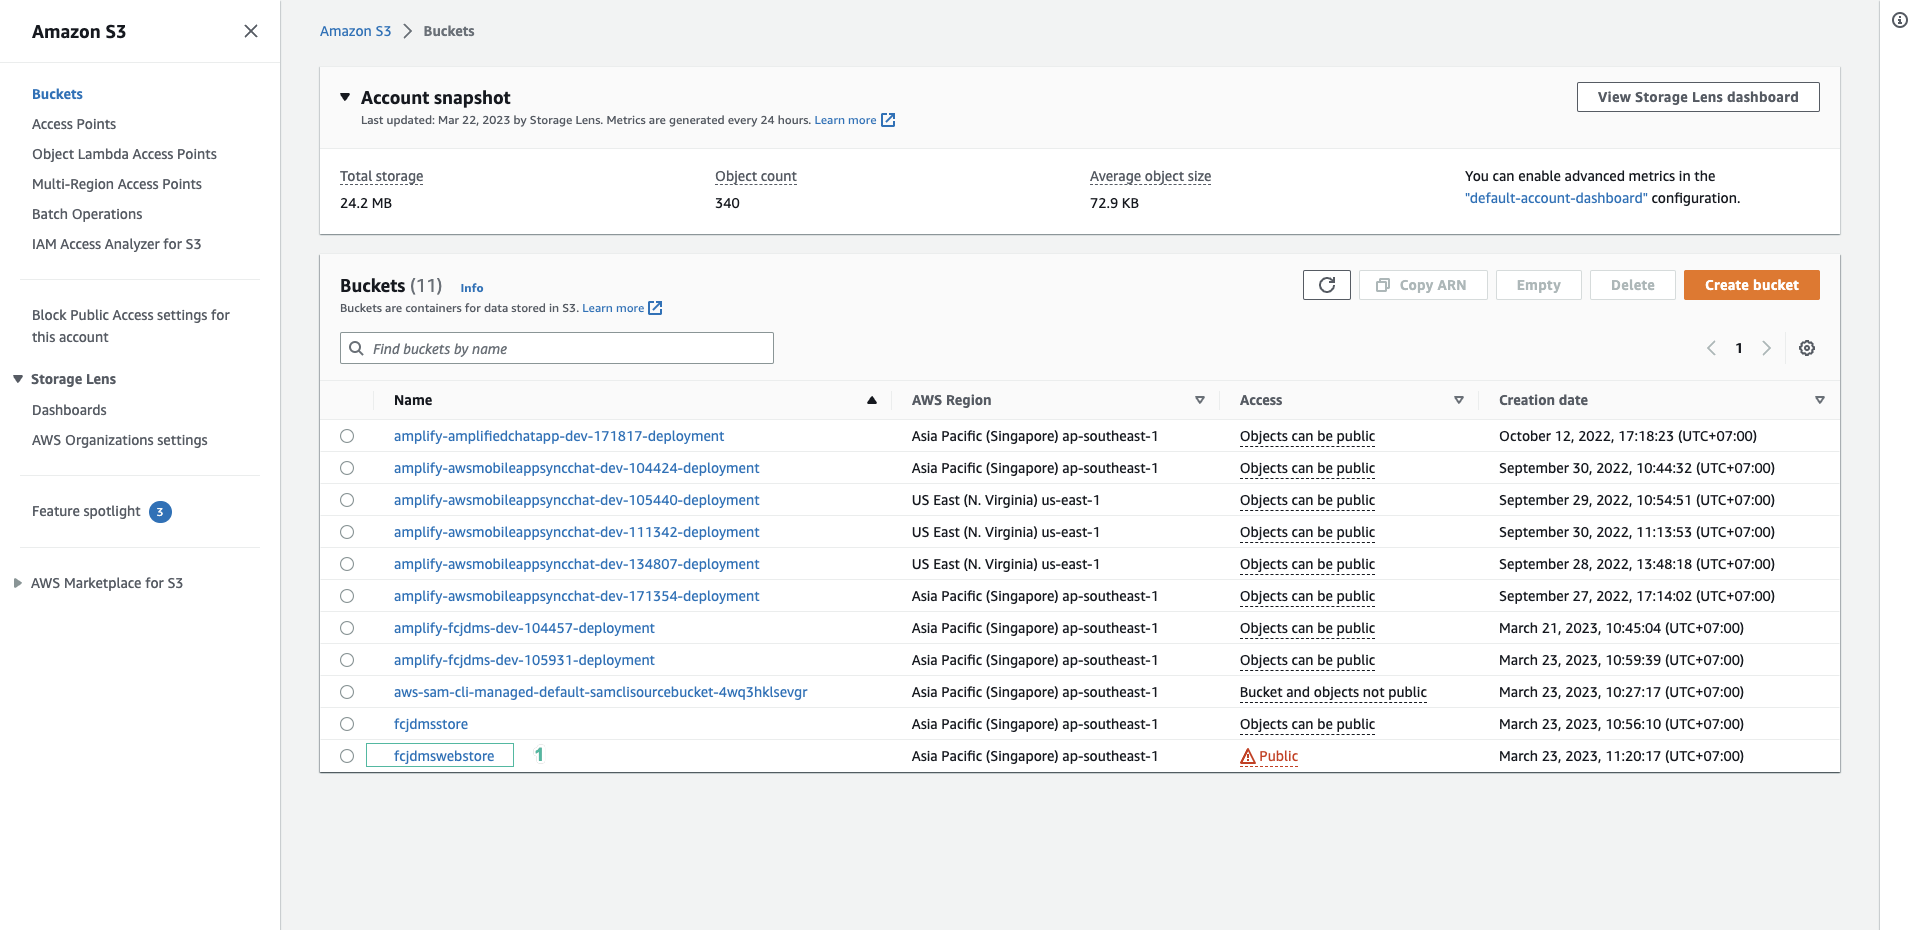
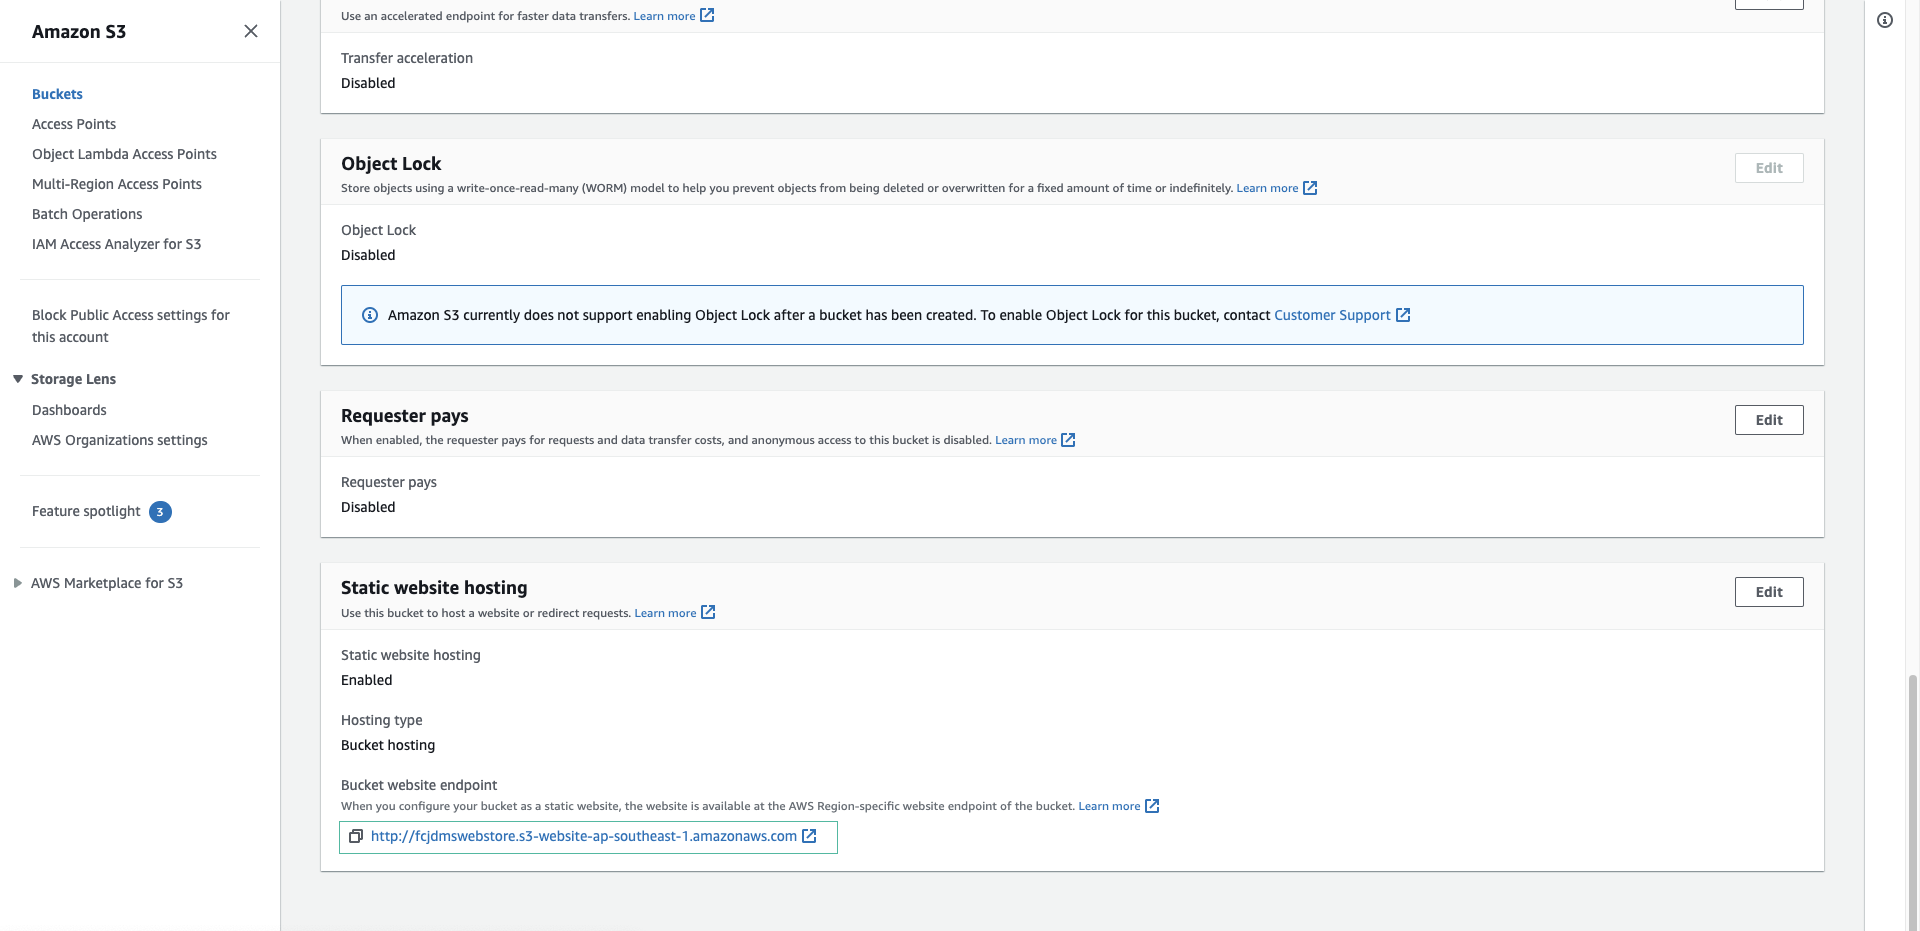
- Select Properties tab and scroll down to bottom. Click website’s URL
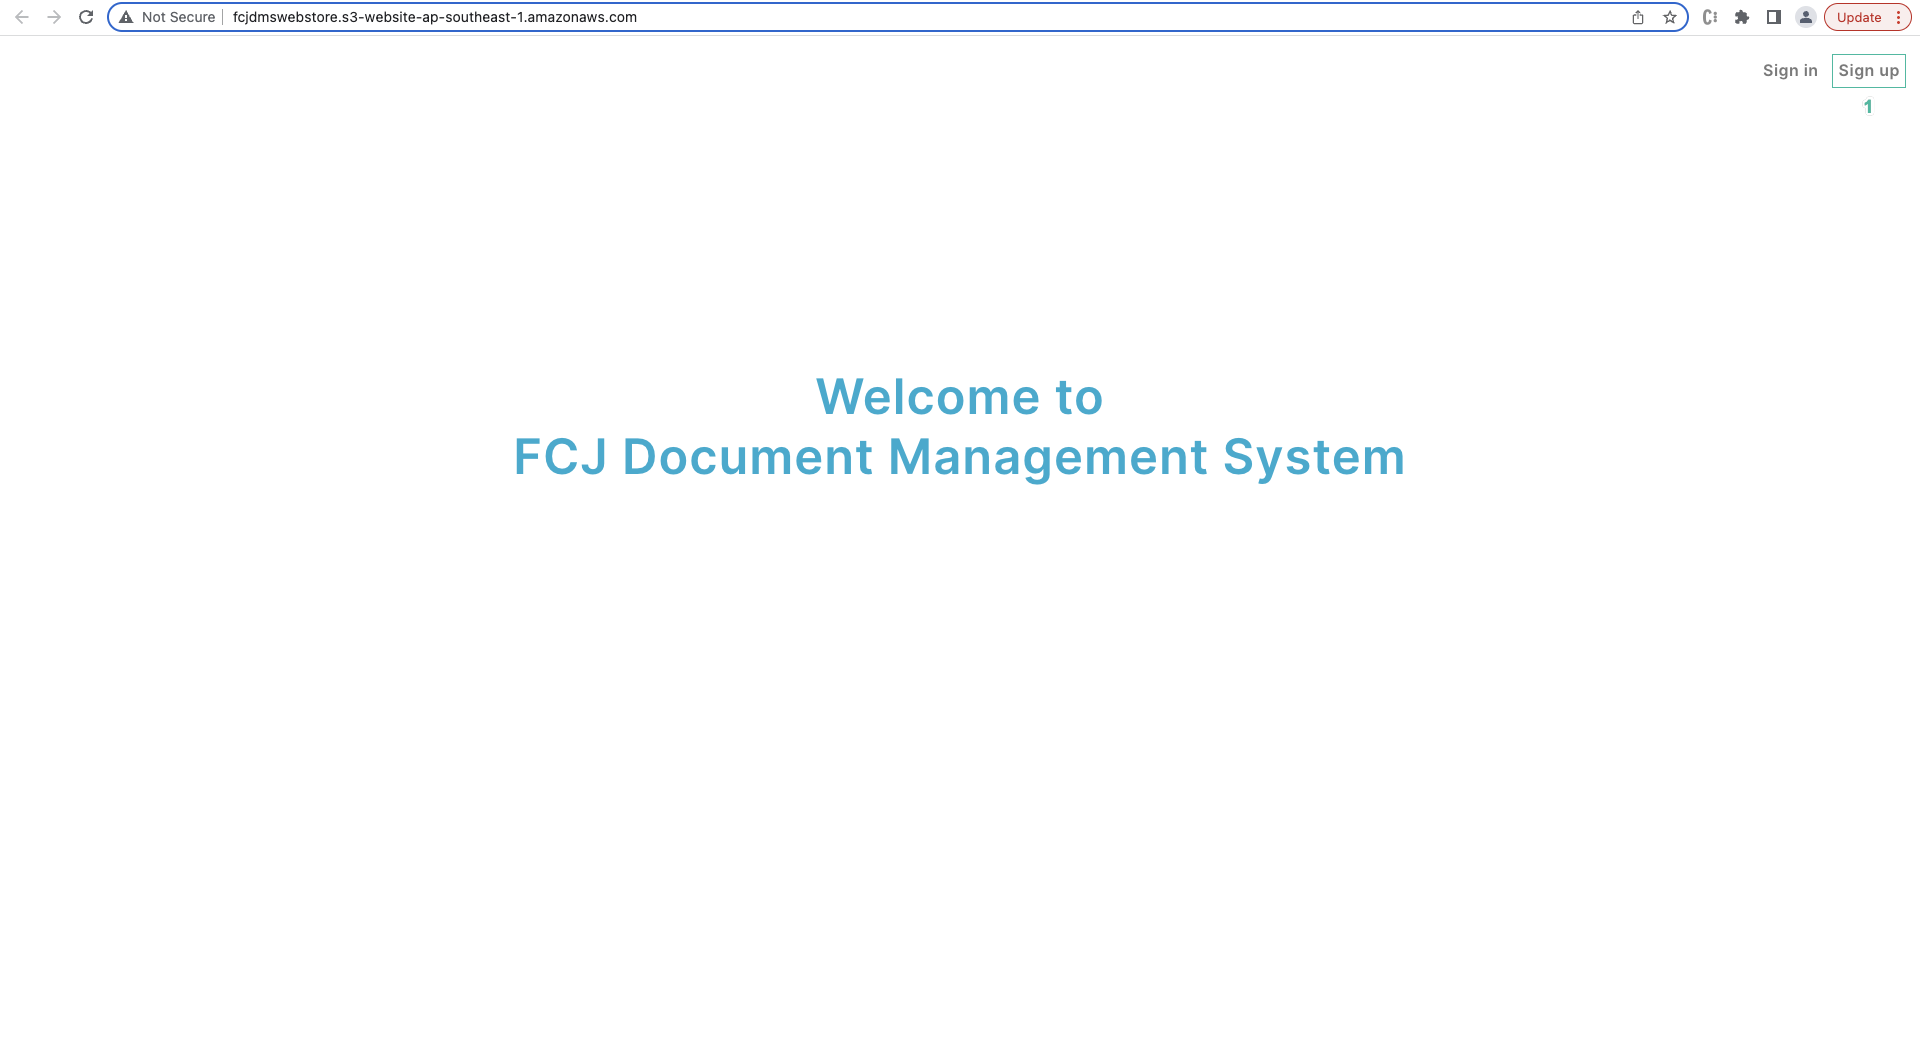
- Click Sign up
- Enter user name, email và password. Then click Sign up

- Open your email to get verify code and enter into the web. Then click Submit

- Back to Cognito User Pool console, click User tab so you will see the account you just registered.
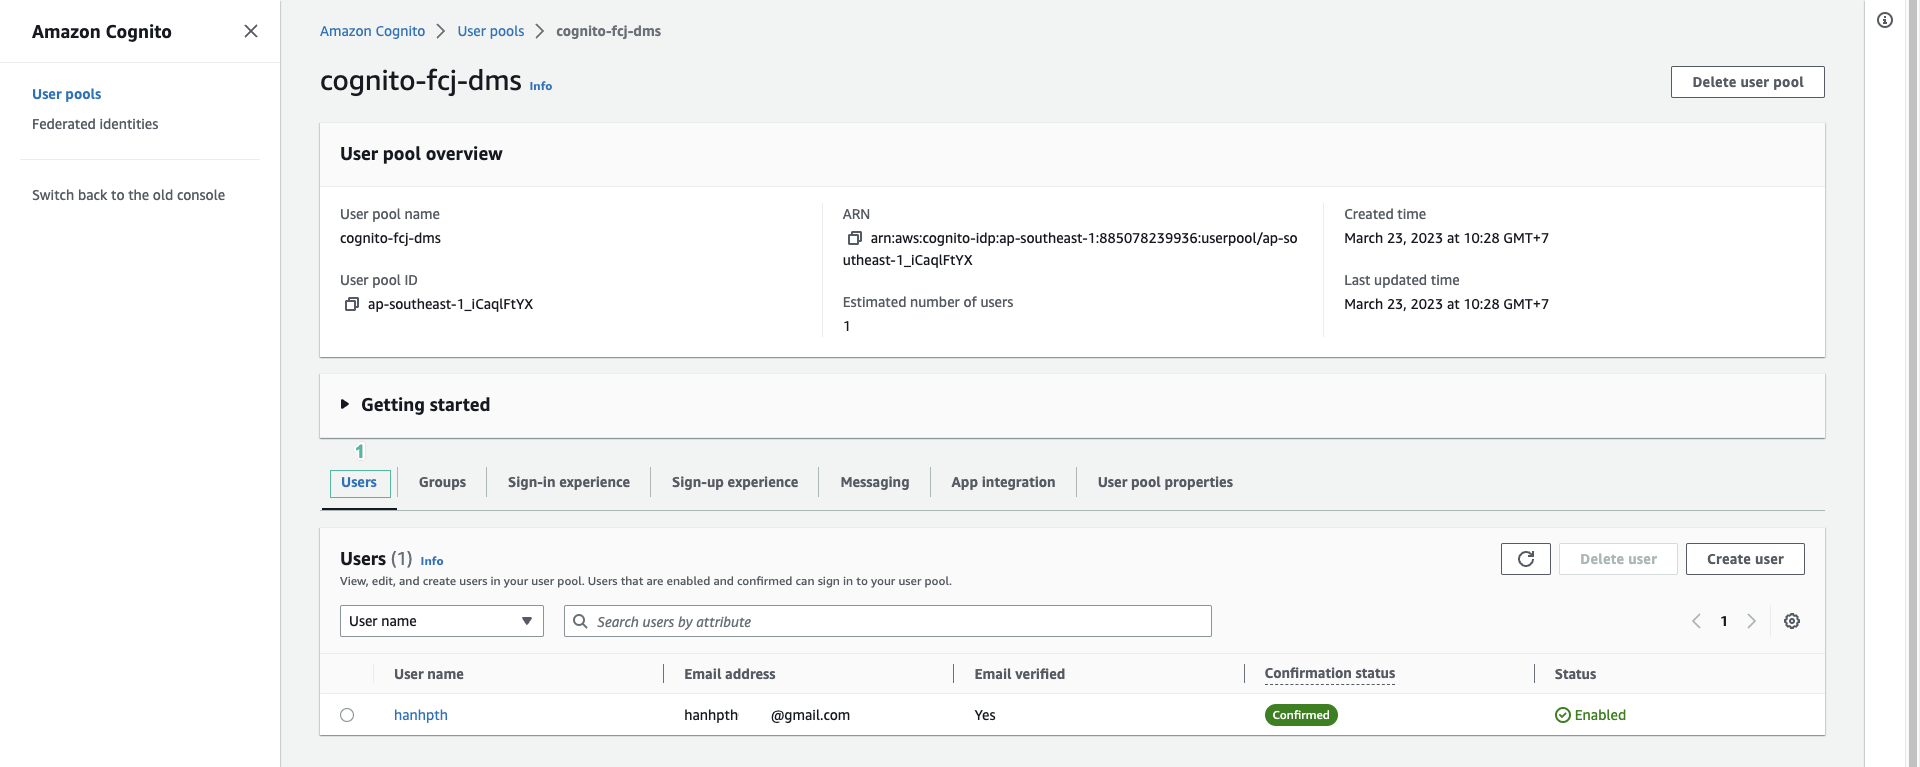
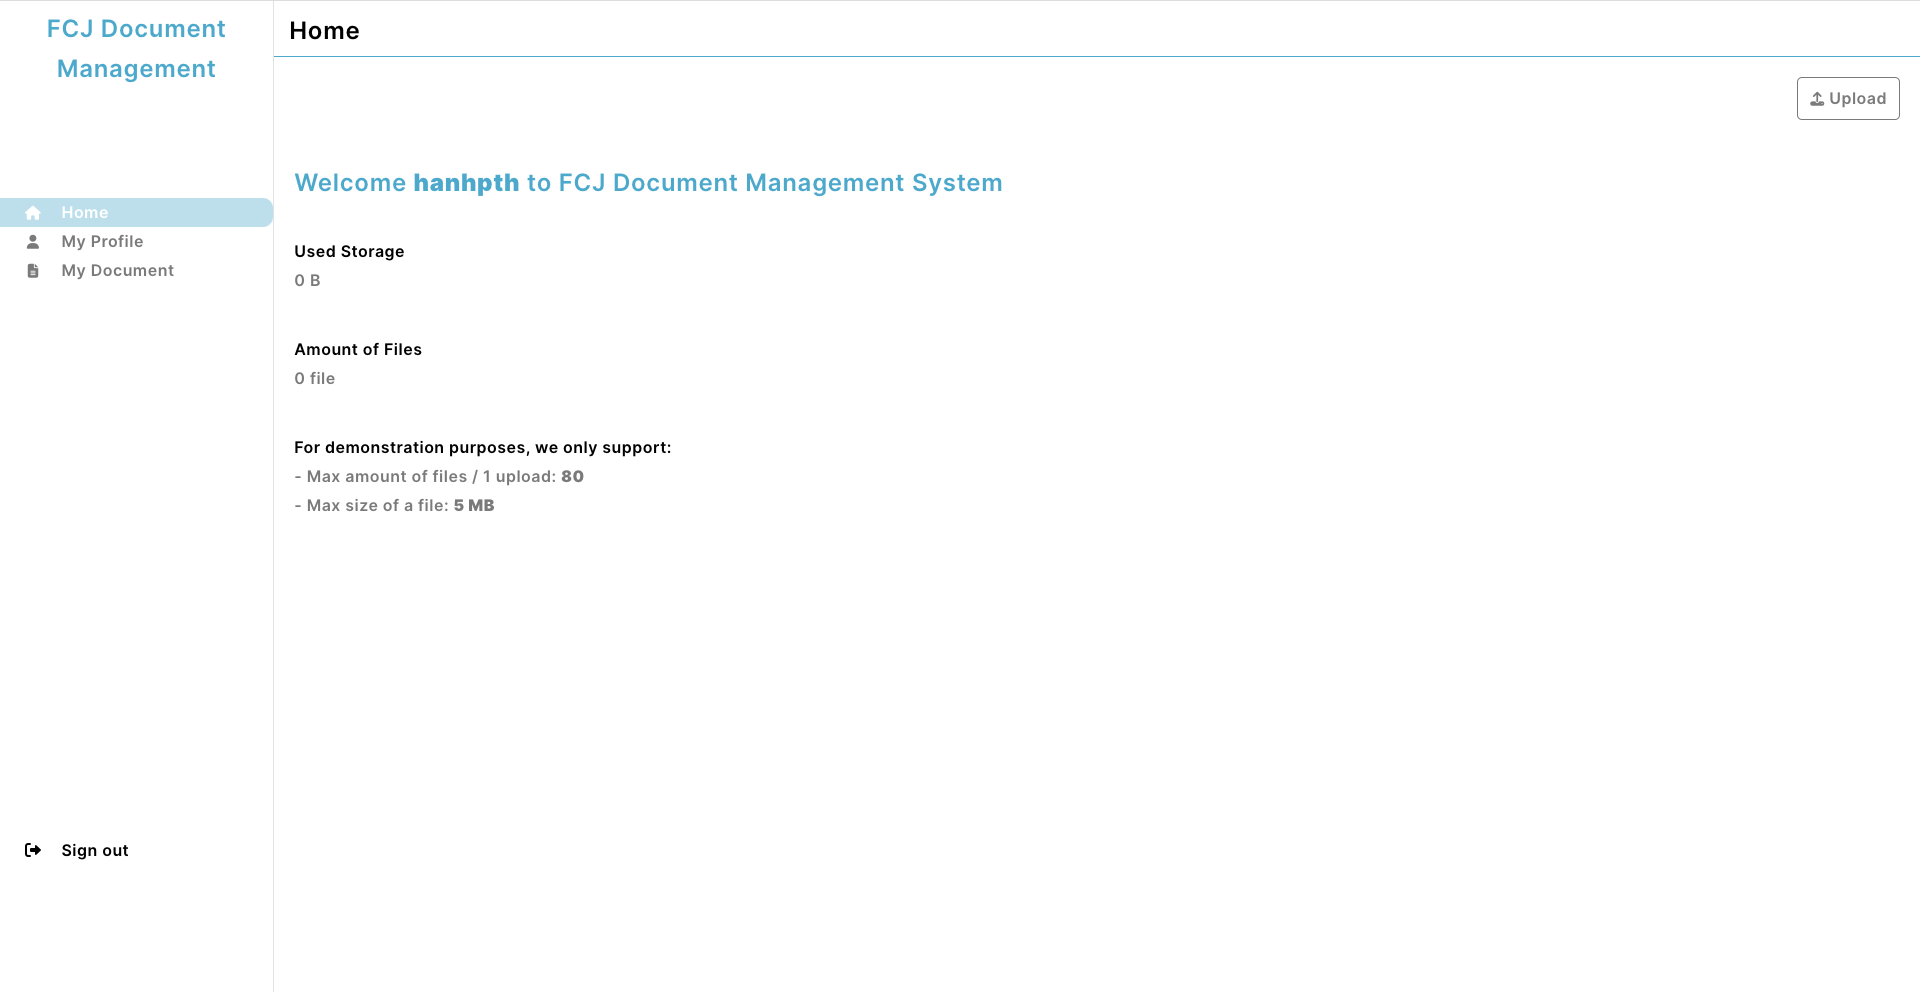
- Sign in to website with the account you just registered.

- Logged in successfully
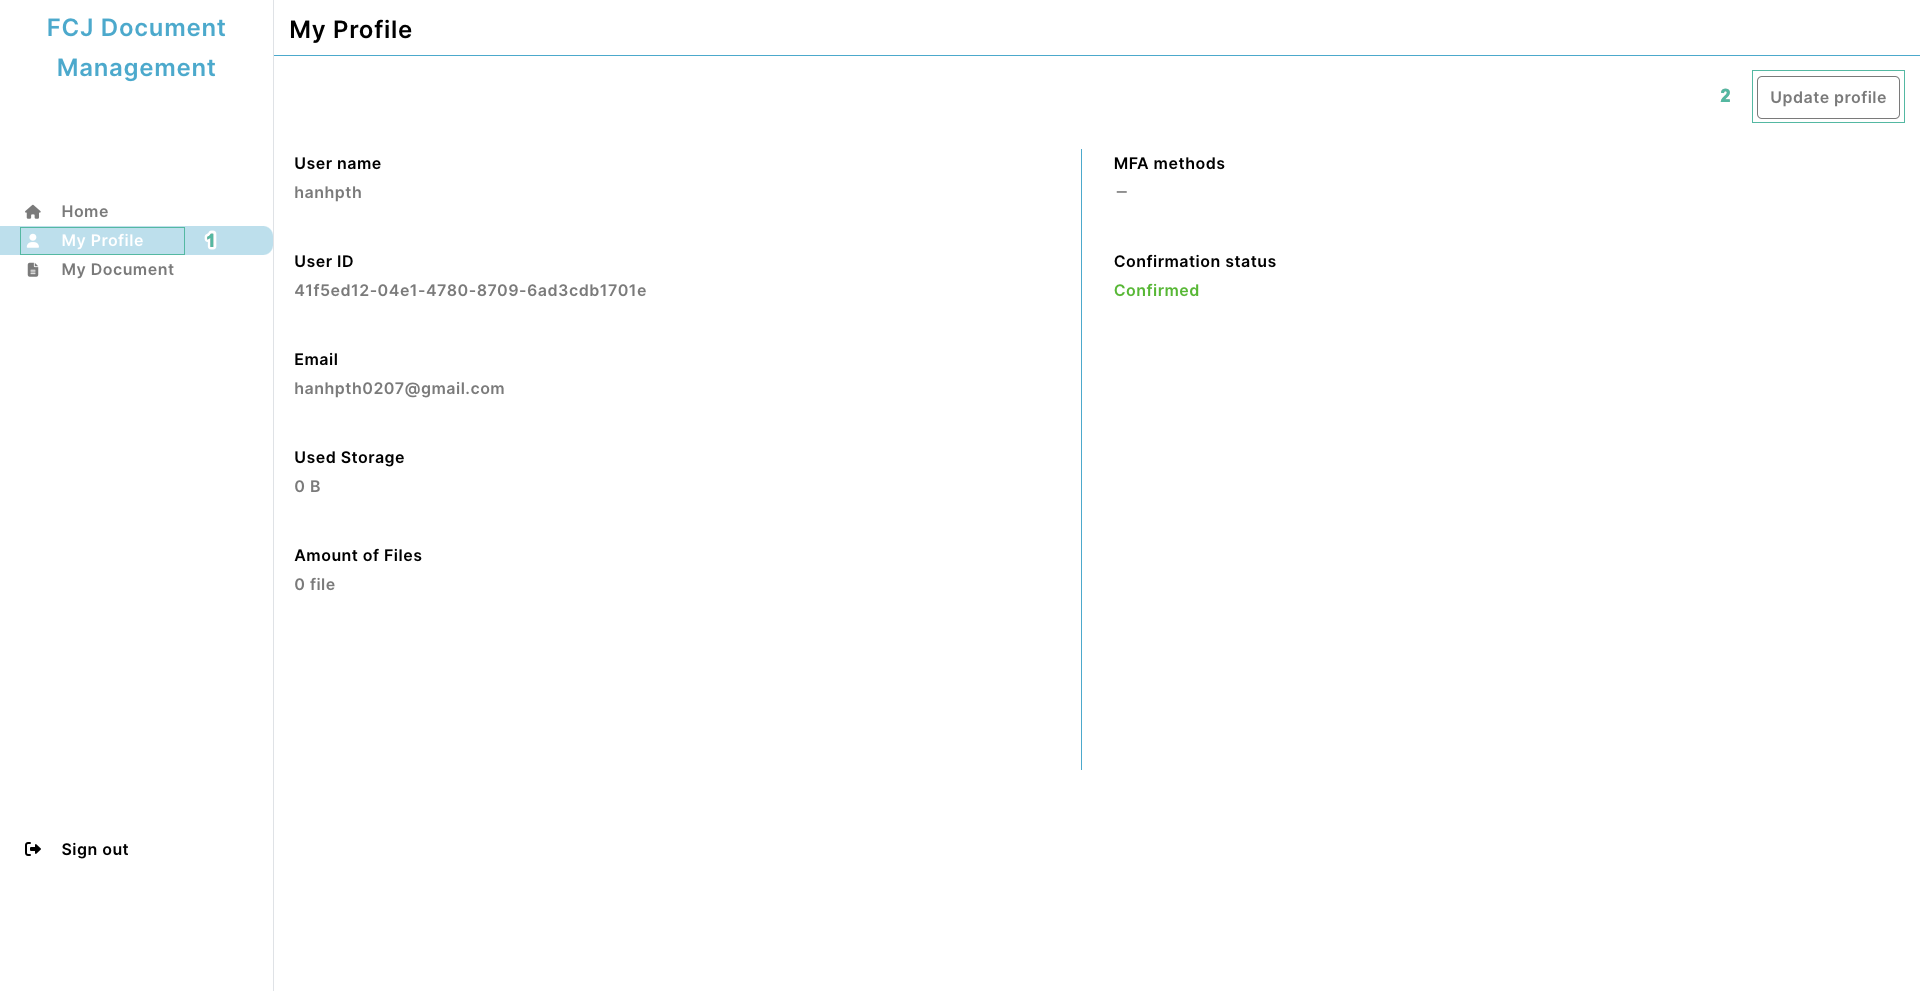
- Select My Profile on the left menu, then click Update profile.
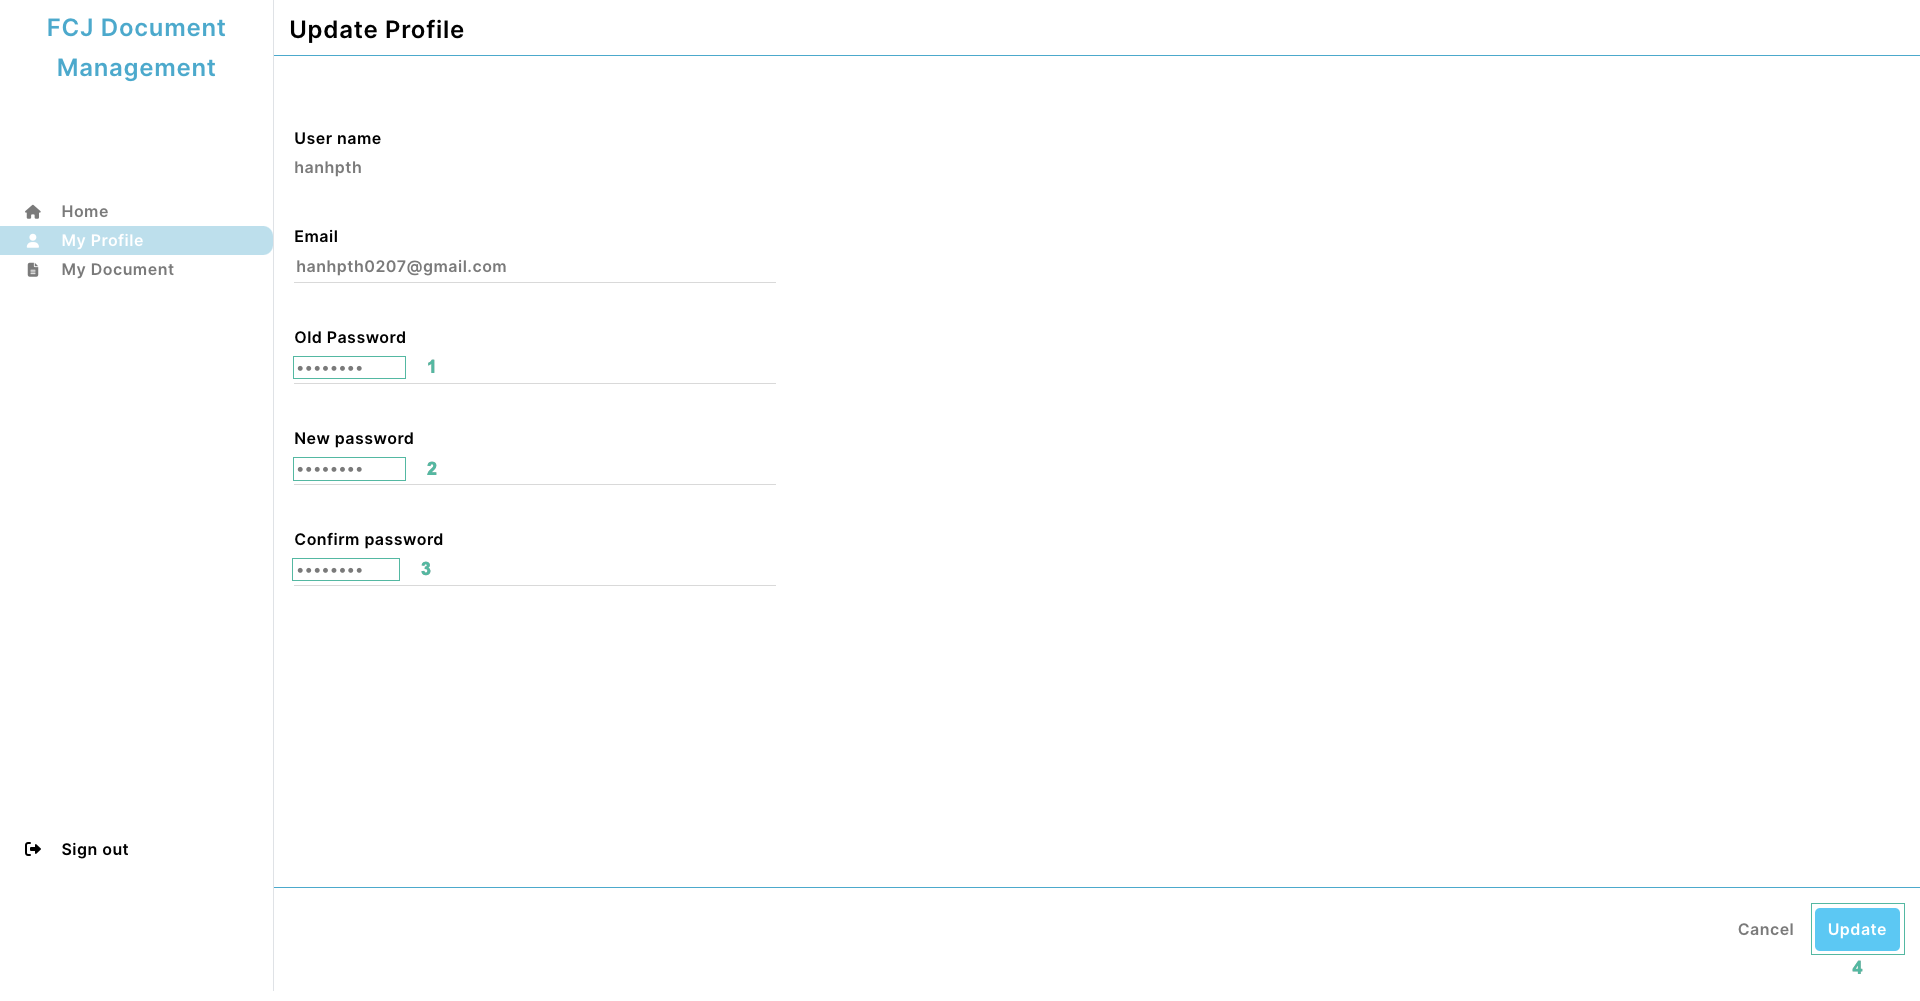
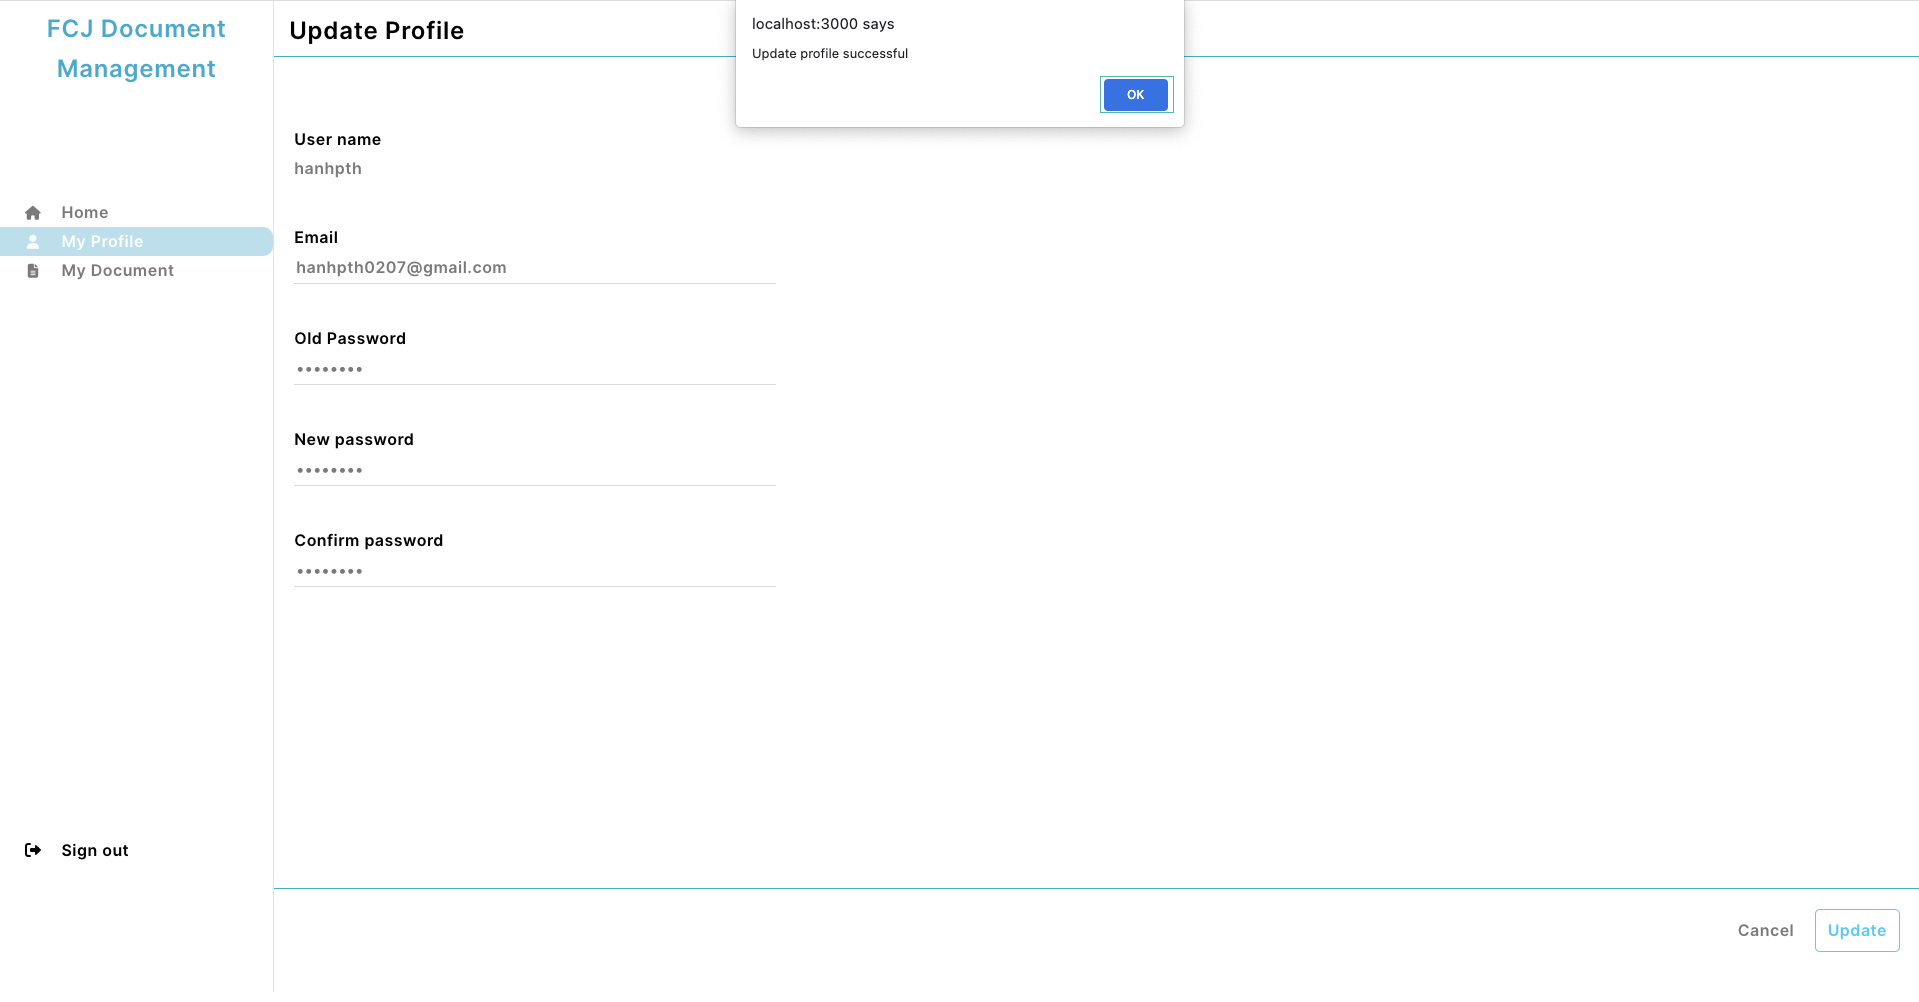
- Enter old and new password, then click Upadate
- Click OK
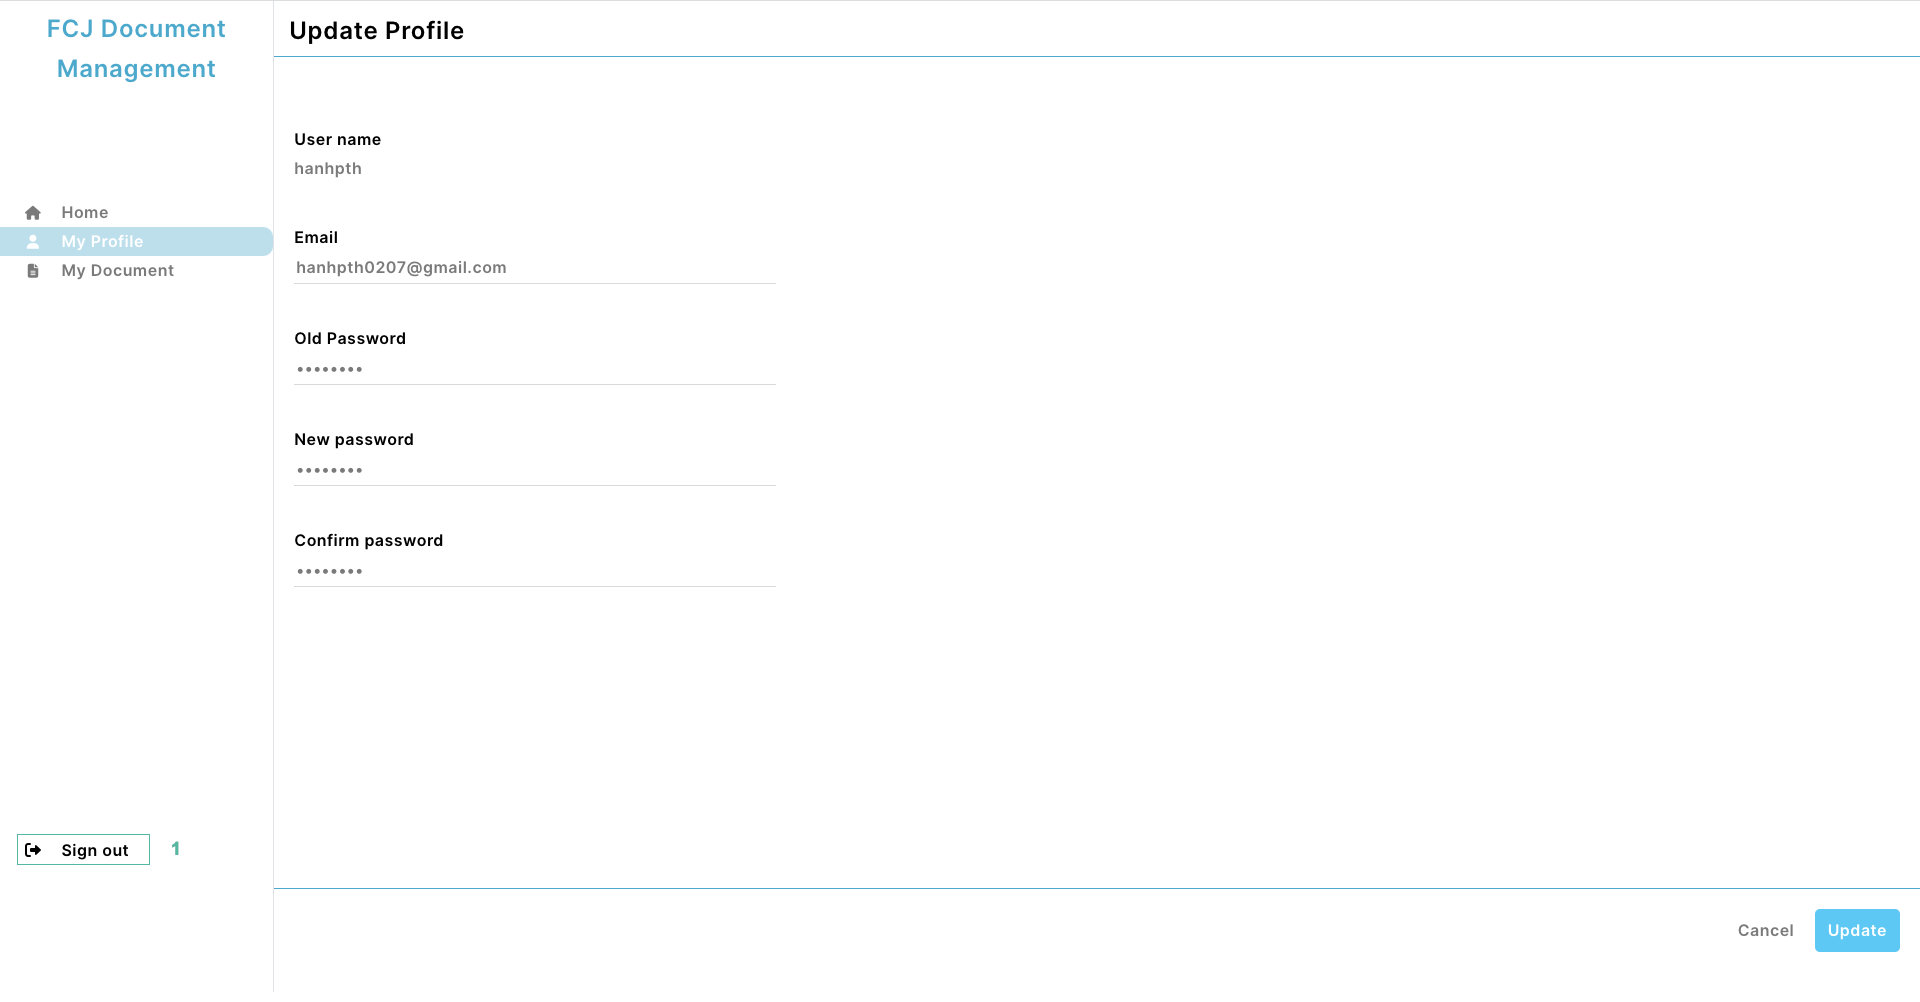
- Click Logout on the left menu
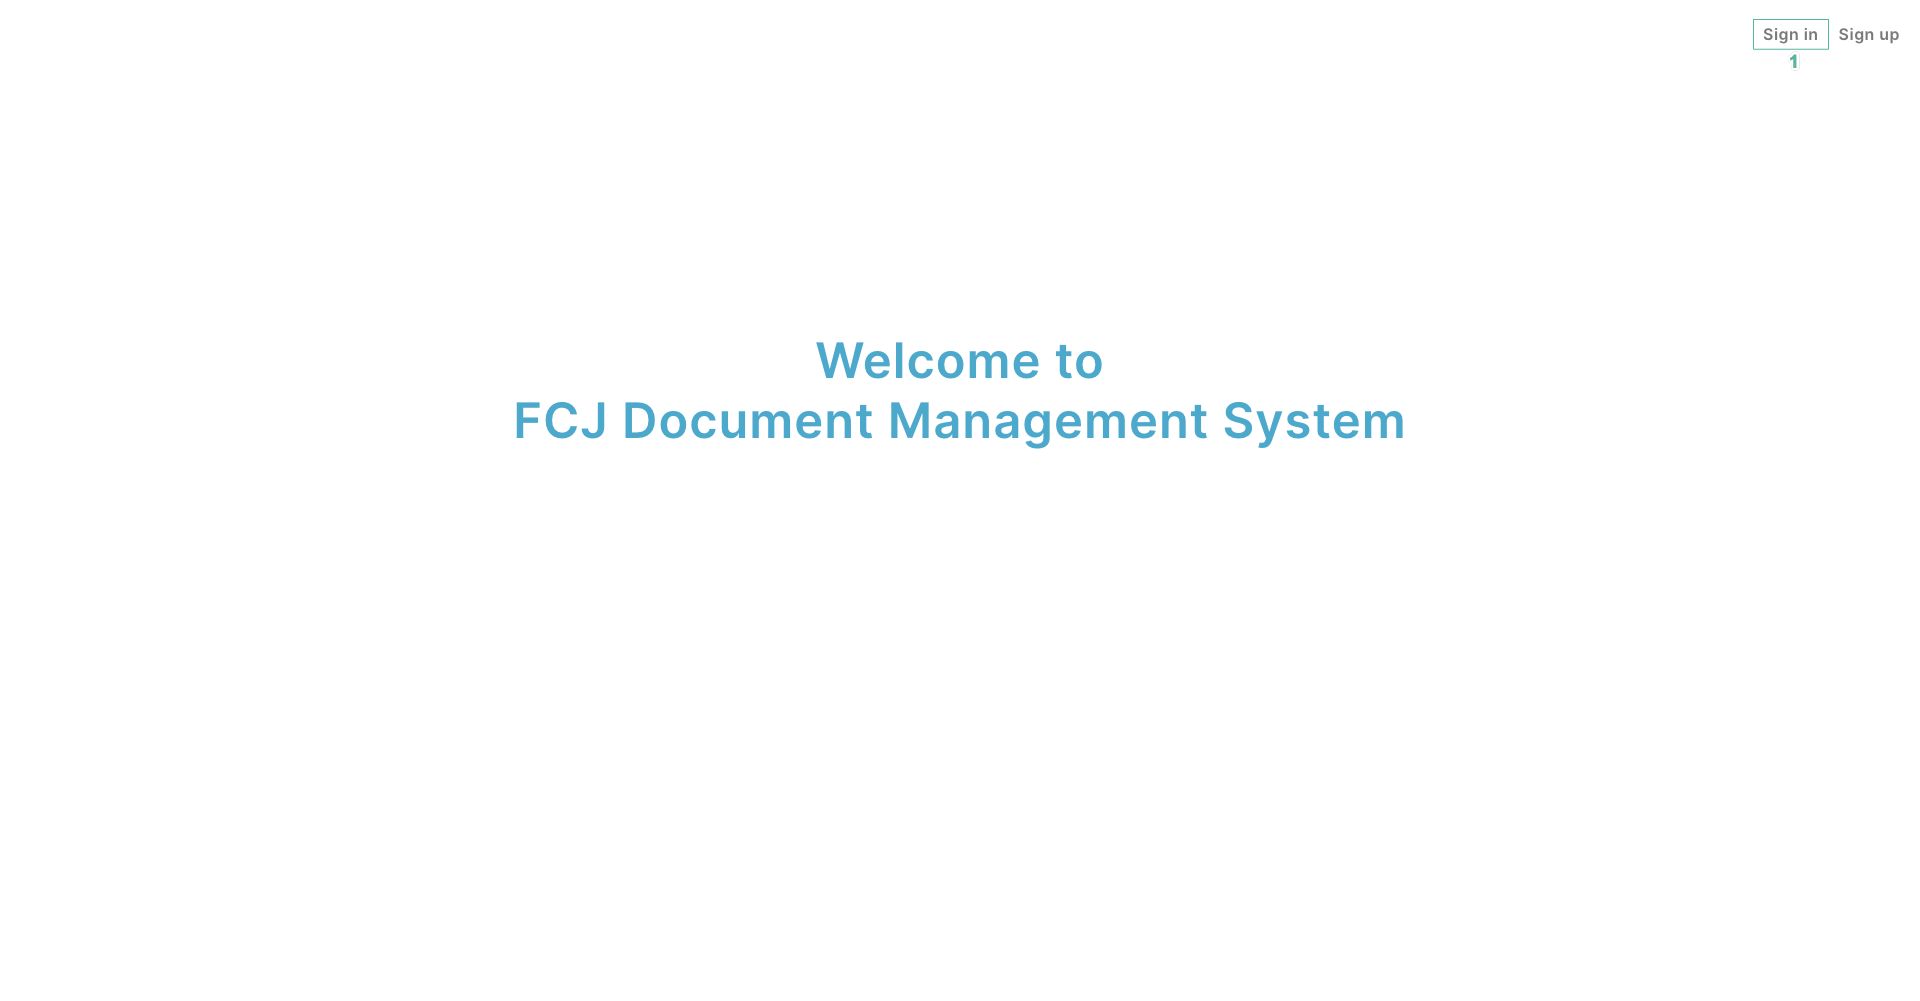
- Click Sign in
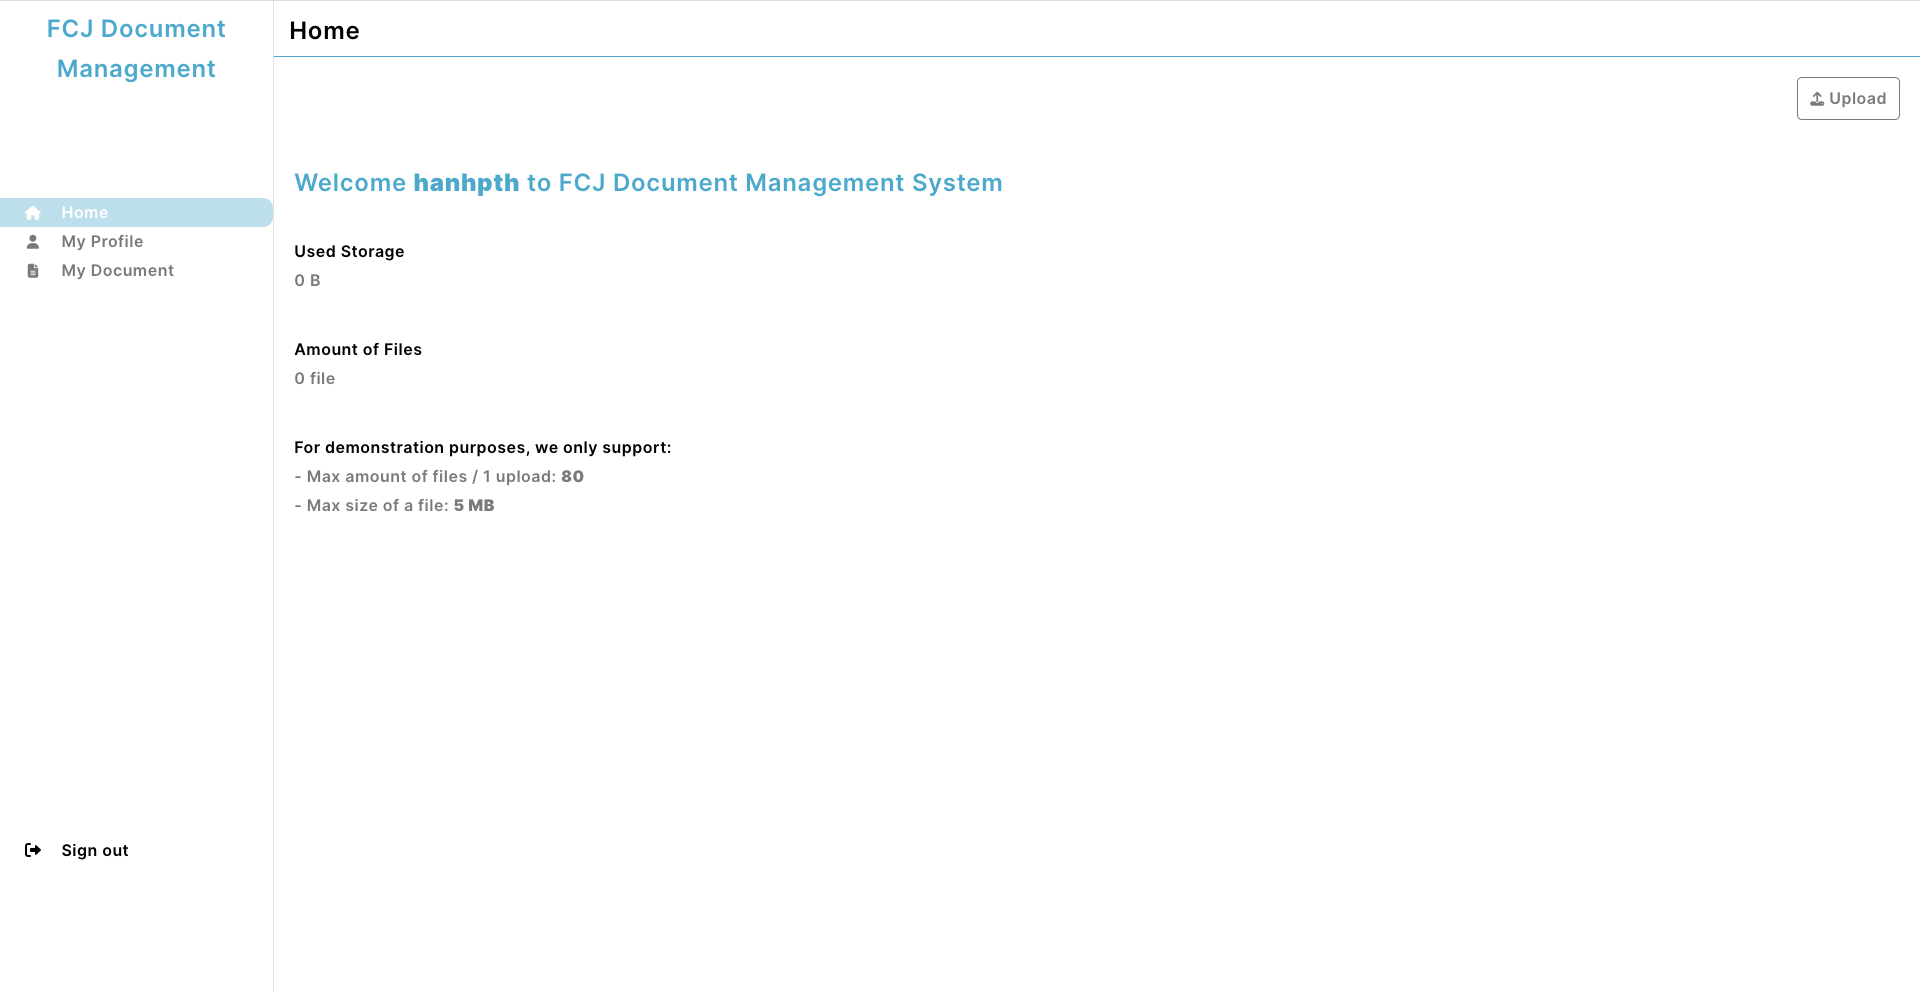
- Sign in again with the account you just updated.

- You sign in successfully with the updated account.
You have finished hosting a static website on S3, authentication with Cognito, storage with S3. Next, we will set up the REST API for the application.